
How To Revive An Orchid With Tea- Guide Plus Tips
14th Jul 2022
Do you want to revive your plants that grow upside down? Yes, I am talking about the orchids. Although orchids are the largest flowering plants, sometimes they may look dry and dangling.
This is a sign that the orchids need to be brought back to life. It comes with a very simple solution, tea. This article provides all the necessary details about how to revive an orchid with tea.
Did you know? Tea acts as a fertiliser for the orchids. As tea is a common item found almost in every house, therefore those having the ancient orchids can easily make their garden full of life and colours with such a simple household item.
How To Revive An Orchid With Tea:
Sometimes due to various factors, the nitrogen concentration in orchids decreases, and the pH is disturbed. As a result, the orchid plant stops blooming.
To cope with this problem using home remedies, black or green tea turned out to be an effective solution. Green tea has a high amount of minerals, so when we water the orchid plant with such enriched tea, it reblooms.
Requirements:
You need the following items to complete the process.
- Teabags of black tea
- Plant clippers
- A bowl
- Small container
- Isopropyl alcohol
Steps To Rebloom Orchids With Tea:
These simple steps will assist you in understanding how to revive an orchid with tea.
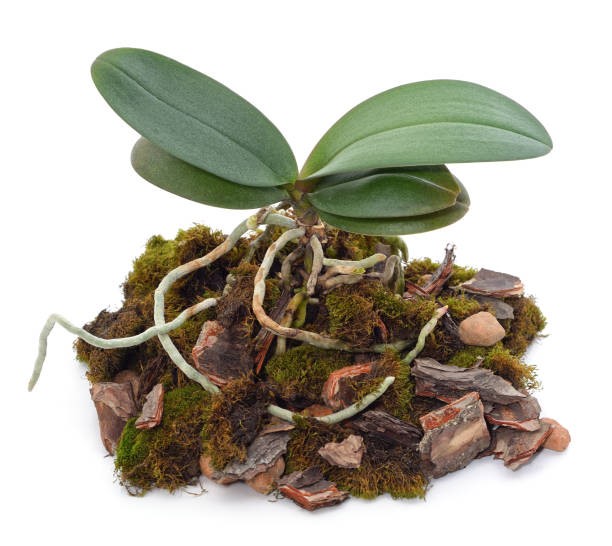
Step 1: Dip Plant Clipper In Alcohol
Begin by taking the plant clipper and placing it in the isopropyl alcohol so that the tips of the clipper dip entirely in it. This step ensures thorough cleaning..
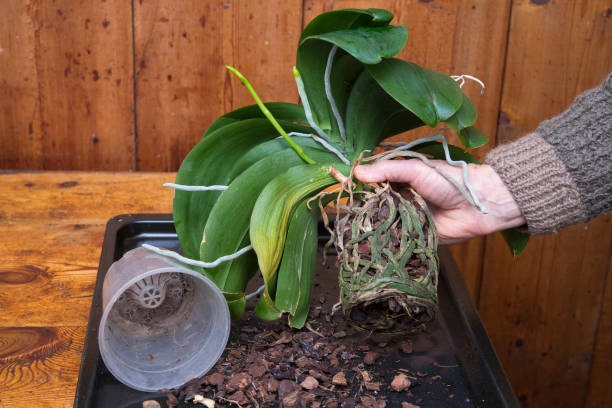
Step 2: Remove Orchid From The Pot
Next it is time to remove the orchid plant carefully from the pot. Do it by slowly shaking and pulling it out.
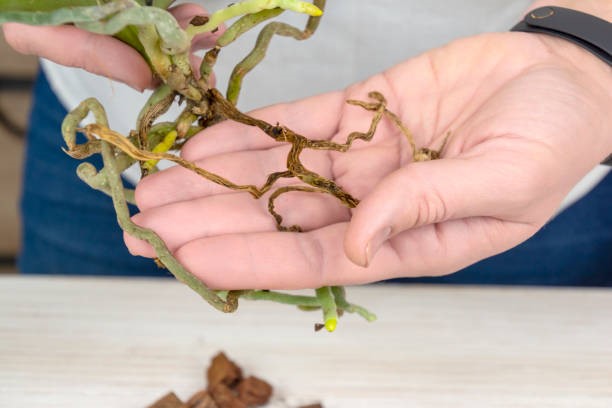
Step 3: Observe Orchid Roots
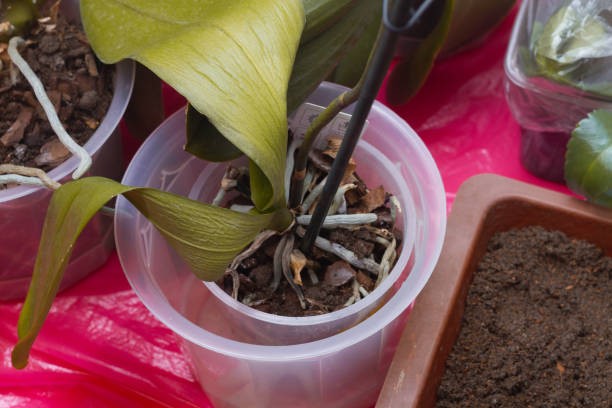
Observe the roots of your orchid plant. If moss appears in the rootlets, your orchid may lose the blooms. Also, look out for any dead or dying roots.
Step 4: Clear Away The Soil From Roots:
Dig out the old soil from the roots as much as you can. And do this step carefully so that the healthy roots are not damaged in the process.
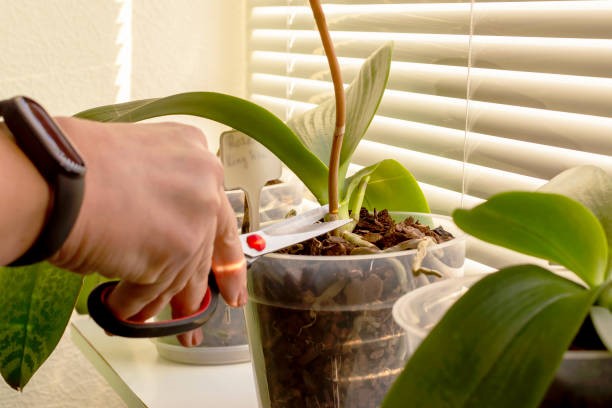
Step 5: Cut Out Old Spikes
Check the plant for any old spikes? Remove them all one by one and attentively. There is a junction at the terminal of each spike. This node is the place where you will have to clip.
Step 6: Rinse Off The Orchid Roots
Take clean water and rinse off the orchid's roots to remove any unwanted particles from their surface.
When you rinse them, you will notice green roots; these roots are healthy. You have to leave only those green, healthy roots. Make sure you have removed and cut off all the shrivelled and dried rootlets.
Step 7: Prepare Tea Solution
When you have ended all the steps, you will only have the orchid with healthy roots. It is time to take a tea bag and put it in water to prepare the solution.
Tip: The water temperature should be moderate, not hot.
Step 8: Place The Orchids In Tea Solution
Place the orchids in a bowl, cup or container. Add the tea solution prepared in that bowl to cover every root adequately.
Leave the orchid plant in that solution for a full day and put it out at night. Change the tea solution every day for 4 to 5 days continuously and see your orchid get healthy on a daily basis.
Look Out For Healthy Orchid Signs:
You will observe the leaves of orchids getting firm and can't be bent. The orchid will take 1 to 3 months of period time to become a flower.
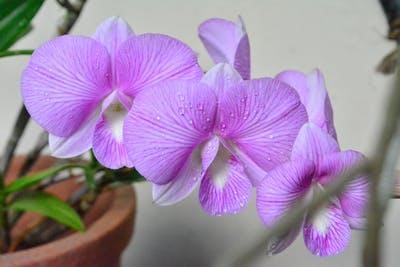
You should observe the roots of your orchid after some interval of days to see if they are healthy or showing the unhealthy signs again.
After reading these steps, you now know how to revive an orchid with tea, which will help you when you feel the symptoms of decay in your orchid plant.
How Tea Bag Procedure Works:
Tea contains many essential minerals and acts as a fertiliser for the orchids. Orchids need minerals and nutrients, water and optimum Hh in proper concentration, just like other living organisms.
When nutrient deficiency or dehydration occurs, the orchid starts wilting and drying. Seeing your beautiful eye-catchy orchid dying is painful, thanks to the economic tea that would help revive it if need be.
Tea Composition:
The tea is composed of essential minerals such as copper, zinc, manganese, magnesium, phosphorus, and other minerals.
When an orchid is treated with tea, it gets the minerals and water from tea and becomes healthy over time.
Remember, orchids take longer to flower, so don't over-fertilize them.
Reasons For Your Orchid Dying:
The most common causes of orchid drying include:
- Nutrient deficiency
- Overwatering
- Dehydration
- High ph
- Inappropriate pot
- Sunburn
- Insufficient sunlight
- Not watering often
- Pollution Low humidity
- Unavailability of the required temperature
- Adding too much fertiliser in the orchid plant container
After Care For Your Orchids:
There are accessible ways by which you can supervise orchid plants.
- Water orchids daily.
- Expose them to indirect sunlight.
- Plant them in an accurate pot.
- Use a humidifier.
- Fertilise them weekly during their new growth and fertilise them monthly once they mature. When orchids undergo dormancy, don't fertilise them.
- Please don't touch them more often.
If you think you can not look after the orchids daily and want the orchids around the home, you can go for the faux orchids that give a natural touch. You can get them conveniently on Saffron's decor.
Last Words:
The article explains how to revive an orchid with tea step by step. Tea is an inexpensive fertiliser to bring orchids back to life that you can add to your orchid.
Orchids are the most ancient known flowering plants in the world. They are attractive and make the surrounding area eye-catching. They are most commonly used as housing plants.
Therefore those that have orchids in their home or office can sometimes go through the experience of their orchids drying out.
But before replacing them and trying any expensive fertiliser to rebloom them, treating them with the tea solution has proved to be effective for many. So do give it a try!


